Nails: Midnight Blue

0 comments
For this week's nails, I decided to go darker for the cold winter weather. It has been a while since I painted my nails blue so I painted them blue! From my Japan trip early this year, I have bought quite a bit of nail art supplies such as studs. Also, recently I have began to experiment a bit more with different styles of nail art. So this week, I went for  a "midnight" inspired nails. My nail art style reflects Japanese nail art rather than Western style as I prefer using 3D art rather than nail polish to create patterns, shapes and images etc (mainly because I find it difficult to do the nails on my right hand - since I'm not quite gifted with using my left hand...).


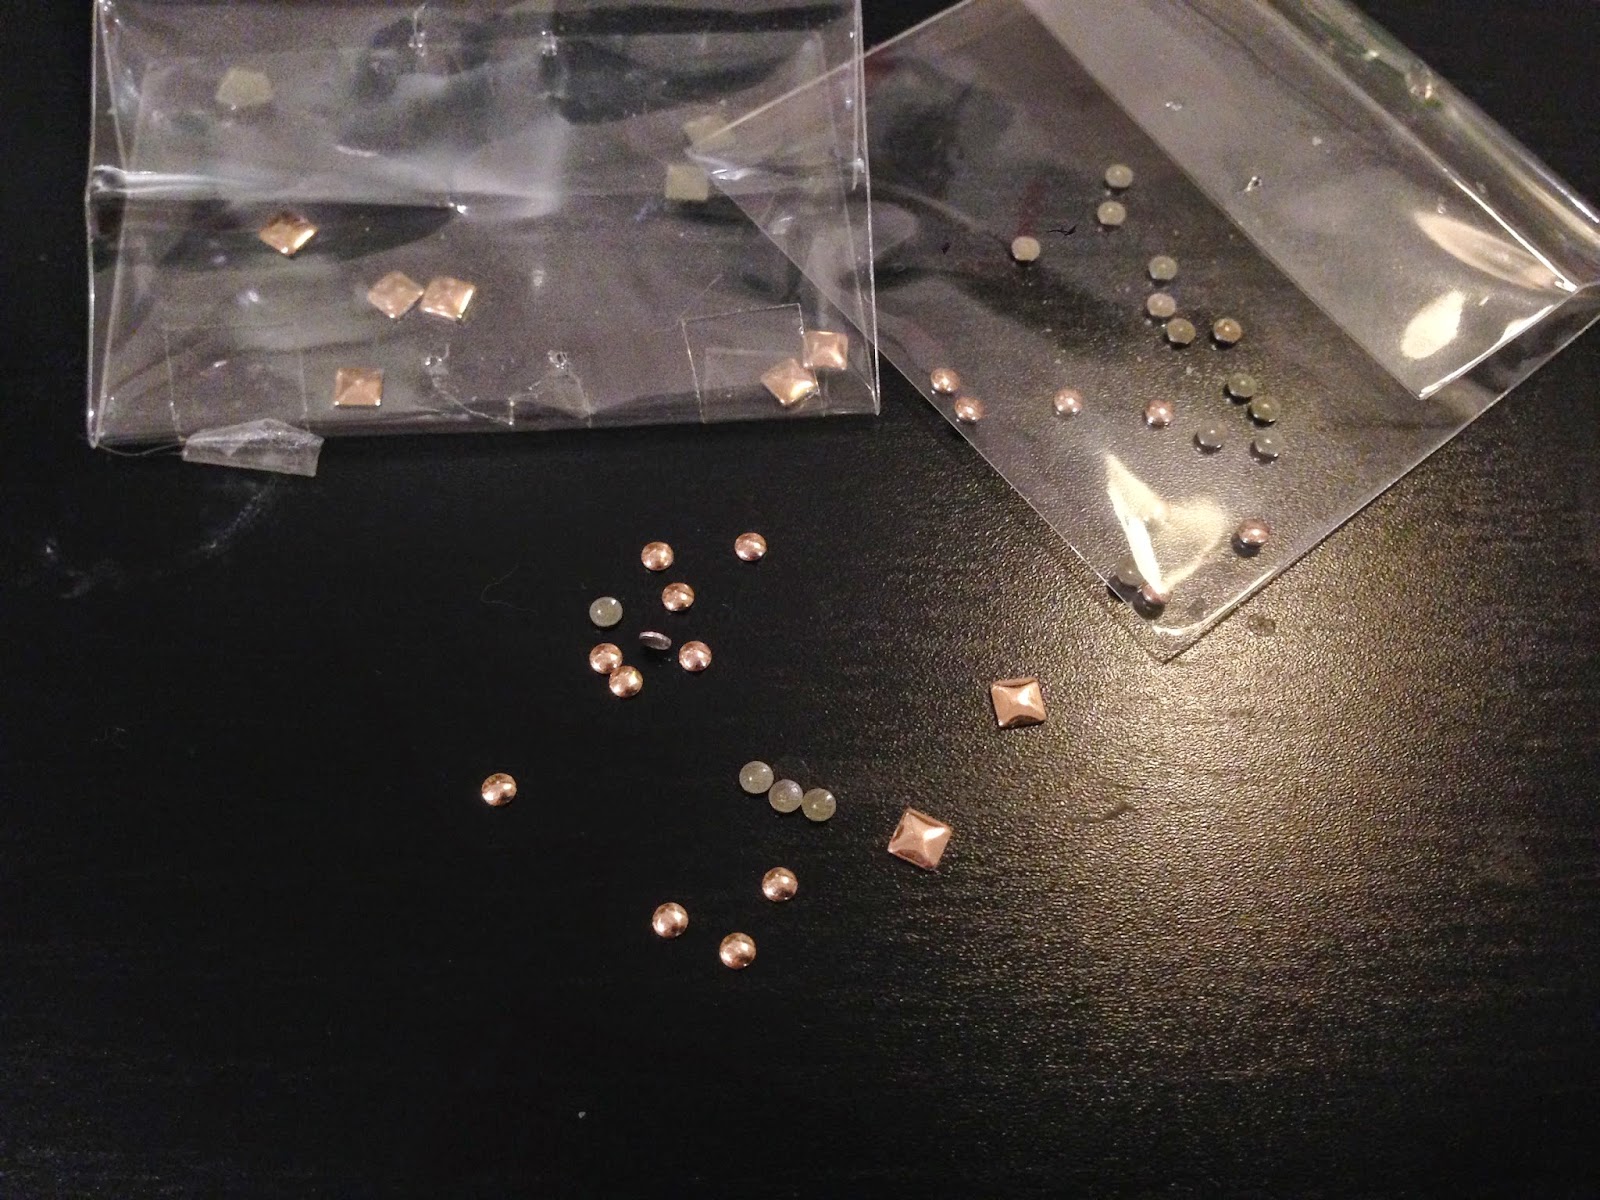
The nail polishes that I used for this look are Topshop's Blue on Blue and China Glaze's Calypso Blue (#673). The studs that I used were bought from Japanese beauty stores so it would be hard to find the link. However you would be able to find similar ones from Born Pretty Store


So first, apply two coats of base coat (Revlon's Quick Dry Base Coat) as i find darker colours such as this blue are harder to remove and tend to stain the nail. Apply 2 coats of Calypso Blue on two nails on each hand. Then painting the rest of the nails with Blue on Blue, again with 2 coats. 


When the nails are dried, using a top coat (Revolon's Quick Dry Top Coat), apply a small amount on the nail with the darker blue. Using tweezers, carefully place a square stud in the middle of the nail and two circle studs on top and below. Do this to all the nails with the darker blue. 

After all the studs are placed, apply two coats of top coat and wait the nails to dry. 

QUICK TIP: During my visit in Japan, I got a manicure with 3D art, the nail artist told me that it takes at least an hour before all the nail polish dries (even just normal painted nails) so it is preferred that you do not touch anything that would potentially scratch your nail polish. 

<iframe src="//instagram.com/p/qu1Icymf2j/embed/" width="612" height="710" frameborder="0" scrolling="no" allowtransparency="true"></iframe>

Until next time 


Sydney Winter Festival 2014

0 comments


It is already the time of the year in Sydney where the temperature begins to drop and the layers of clothes wrapped around us increase. 
For the first time in Sydney, a Winter Festival was held at Darling Habour accommodating us with an Ice Rink, fireworks, winter displays, performances and many more. 

I went to this very hyped festival with my friends on Saturday, only to come home with disappointments. 

(First winter display you will encounter if you enter from the bridge next to Chinatown)


However, if i had to choose, this winter display was the most impressive experience of the night. It was a rectangular shaped structure dressed with white decorations such as white lit trees and "upside down white Christmas trees" on the ceiling to mimic the icy feeling of winter. It looked quite beautiful from the outside as seen in the photo above and was also quite a beautiful scene as you walk in through the entrance. The ceiling and walls of the structure was made of diamond-cut shaped cotton fabric which mimicked pretty nicely the walls of "snowy igloos".

(Inside the Winter Display) 

(The very interesting looking snack)
To the left of the first winter display was the main event consisting of the "not so big" ice rink, food stalls and other fun activities. Of course a food lover such as myself could not miss out eating what was provided at the stalls. I have seen many of my friends bombarding my Instagram with pictures of these "sliced potato chip lookalike on a stick" and as I drool wanting to take a bite. This day came on that Saturday night as one of the stalls sold these delicious and Instagram worthy snacks. It had quite an interesting taste, not as tasty to my expectations but... oily...very oily ...and deep fried.. yes what usual deep fried food would taste like. Anyhow, it smelled amazing. 

Other stores sold other types of snacks such as German sausages, if only I didn't have dinner beforehand I would've tried out everything that was sold there. That really ended my night since we didn't plan to ice skate (which we were very glad that we did not since it was ...really small.. and didn't look very easy to skate on) and there was not much to see at the festival. Unfortunately, i was too concentrated on the food and wasn't able to take more photos of the festival.

Until next time


Trouble Maker - "There Is No Tomorrow [내일은 없어] (Now)" HyunA Inspired Makeup Tutorial

0 comments

Trouble Maker recently released a new album 'Chemistry' waith the title 'There is No Tomorrow (Now)". After watching the music video, I decided to do an inspired look from HyunA's makeup as I thought her look was very funky but not too "over the top". 


Her look in the video consists of shimmer eyeshadows with a brown smoky style, simple eyeliner and a red lip. For my inspired video, i tried a similar eyeshadow look but instead of the bold red lip, i toned it down and had a pink 'bleeding' lips instead to mimic her small lips (as mine are not as small!). Her skin is quite flawless and pale, but clearly i do not have that. So instead of applying a thick foundation to achieve a flawless finish, I went for a more natural look by just using a makeup base, concealer and a CC Cream. 


This is a very fun look to wear out during the day and if you want to wear it out for the night, you can either wear this look as it is or smoke it up by using a black gel liner, darker brown eyeshadow and a bold red lip. 

Enjoy!

xxx

Beauty: Colour Nail Tips

0 comments
New video!


This time I'll be showing you all one of my favourite ways to do my nails, colour tips. It is very simple and easy to do but pretty at the same time :) It is great for the spring/summer season for those in the Southern Hemisphere but for those up North in the Autumn/Winter season, you can also pull off this look with darker colours.

Hope you enjoy!


xxx


[Review] Beauty: Swiss Balance vs Scinic Moisturizing Cream

1 comments
Its been exactly a year since my last post...how funny is that! Well I'm now back and hopefully I can post more frequently but since my high school exam (HSC if you know what that is) is coming up in 2 weeks, I might be off posting for a while. But for the mean time I have some reviews I want to share so enjoy! 


Scinic: All Day Fine Pore Aqua Cream

Country: South Korea
I got this moisturizing cream around a month ago by ordering it online at ibuybeauti, great online store if you want to purchase Asian beauty products. According to the information provided on the website, it is sebum controlling which is very suitable for oily type skin (in which I have). Compared to the Swiss Balance moisturizing cream which I will be discussing below, it has a more fresh feeling and feels cool when applied to skin. Since I have two moisturizing creams at home, I use this in the morning as i require more moisture in my skin during the day. 

The product is a gel, so it spreads very easily and therefore requires less product compared to other creams. Initially, it makes your skin feel very relaxed and full of moisture, however as the day goes, my face feels oily and greasy again. I am not very sure on how regular I should be moisturizing my face but I do it once in the morning and once after I have taken a shower at night. But compared to my skin in the past, it has definitely felt less oily but not at the stage where I am feeling 'non-greasy' for most part of the day. 

So if you have oily/combination skin, I recommend this to you if you are not on the heavy oily side or live in dryer parts of the world. However, if you can literally fry an egg with that amount of oil spilling out of your face, maybe this isn't the best choice for you. The next product that I may possible try out is the Sea Tree moisturizing cream which I have heard a lot of positive feedback. If you have or will try this out this product comment down below and share your thoughts on it :) 

If you want more information visit ibuybeauti as they have a brochure discussing the product. 

Rating: 7.5/10


Swiss Balance: Moist Solution Advanced Cream Shield


Country: Switzerland
I bought this moisturizing cream when I was in Hong Kong in Sasa. I have been using this since the start of last year or mid 2011. Compared to the Scinic moisturizing cream, it looks like the typical cream that is white. However, for example, comparing this to creams like hand creams, it is much thinner. I use this at night and it pretty much gets me through out the night very well. According to the sales representative that served me at Sasa, it is very suitable for teenage skin as it does not contain as much chemicals or additional functions such as collagen or anti-aging. 

The cream is very moisturizing and makes your skin feel very smooth after using it. When you apply the product, you can feel the cream sinking into your skin which is a feeling that i like compared to the Scinic moisturizing cream. However, the only disappointment of this product is that it does not provide enough moisture for a longer time period. Also, the large pores, whiteheads and pimples that I get time to time have not decreased in frequency. 

Nonetheless, it is a great cream if you want a lot of moisture. But if you are looking for a cream that is longer lasting, maybe this isn't the one you're looking for. 

Rating: 8/10

Share your thoughts and ideas down in the comments. 

xxx


김제니 Jennie Kim 'That XX' (그 XX) Inspired Makeup

0 comments
G-Dragon's 'That XX' is one of my favorite songs at the moment. Its acoustic instrumental and deep lyrics gives a memorable feeling. Jennie Kim is the female lead of the music video, she is one of the members of YG Entertainment's upcoming girl group. Her simple yet capturing makeup inspired me to create this look.

Hope you enjoy it.


Ombre Red hair

0 comments
Today I went to the salon and got my hair done. I have been yearning this for ages and it has such a fail doing it at home. So today I got my hair 'ombre' red and i love the results. Its a very fresh and fun colour but I'm worrying about the school's standard of 'appropriate colour'.

First I got my hair bleached and that took a while... which i don't really know why.. probably because my hair is REALLY dark. I have been hesitating to bleach my hair since i understand the damage of it, but i don't really regret it at the moment. Afterwards, the bleach was washed off and the red dye was applied. It was applied a several times and left for around 30 mins.

I love the colour and since this is the first time dyeing my hair, it was a good impression :)

(Left: Before)
(Below: After)